


Notices
This section describes the Notices features.
In Notices, you can post messages on the "Class Support" to course students.
Students will not receive notifications via email when you use the Notices feature to register information. To verify the information you register, students must log into the "Class Support" and check the [Notices] column.
You can set the target students for the notice in [Scope of disclosure].
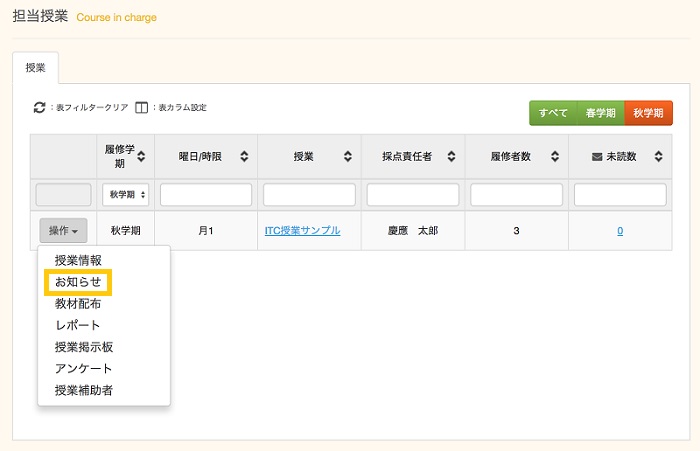
Transition to Notices page
From [Operation] of the object class, select [Notices]. Or, select class name and [Notice] tab.
Notices Features
- Registering Notices
- Checking the Viewed Status
- Modifying Notices
- Deleting Notices
- Email Notification
- Links in announcements
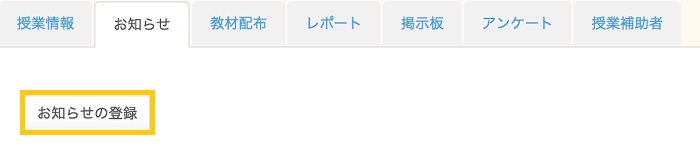
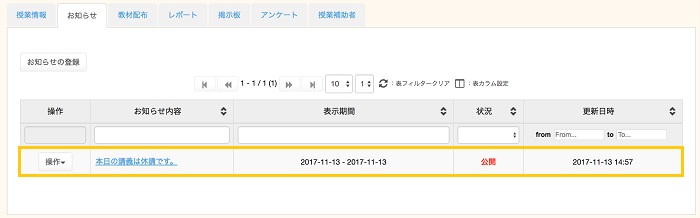
a. Registering Notices
Click [Add Notice].
If the notice is not registered, “N/A Data not available” is displayed.
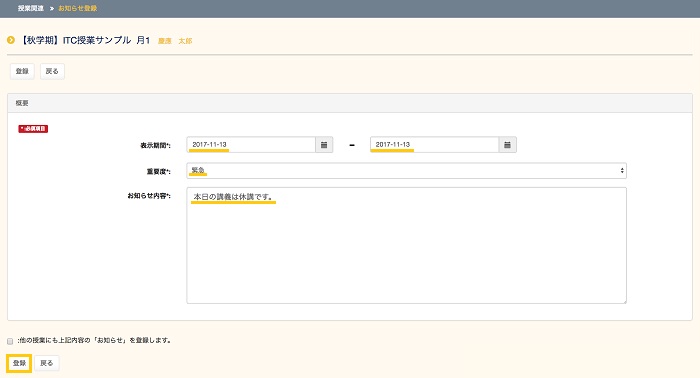
In [Display Period], you can set the period of time the notice you register will be available.
From the drop-down menu in [Importance], select [Emergency], [Caution], or [Usual].
In [Notice content], enter the message you want to announce to students. Because UTF-8 is used as the character code, single byte alphabet and numerals are calculated as 1 byte, Japanese hiragana and katakana and many ideographs as 3 bytes, and returns as 2 bytes.
* You can only use plain text. However, line feeds are acceptable.
[You can register a Notice with the above contents for another class.]
If you are in charge of multiple classes, you can register the same notice for other classes by entering a check and selecting the classes.
When you are finished, click [Register].
When the window to confirm the registration appears, verify that the information is correct, and then click [Register].

The Class-Related Home page appears. Finally, confirm that the information in the Notice feature reflects the information you entered.
Email notification is available during registration. See the email notification feature for details.
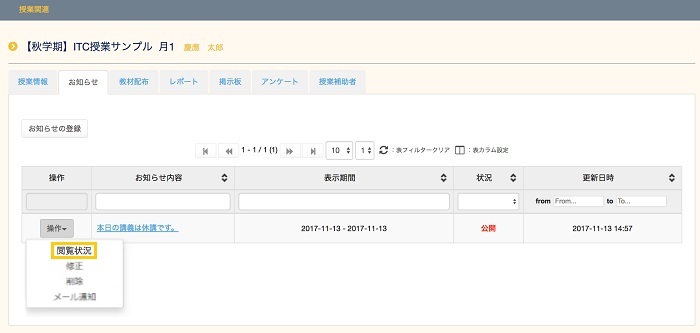
b. Checking the Viewed Status
Click [Status] in the [Operation] column of the notice you want to check.
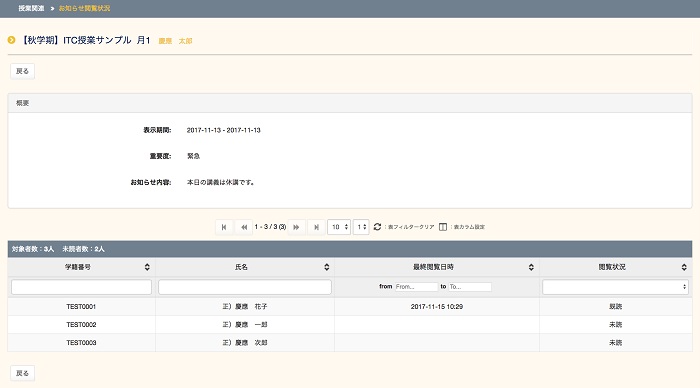
The Notice View Status page appears. "Unread" or "Read" are displayed in the [Status] column to indicate whether each course student has viewed the notice.
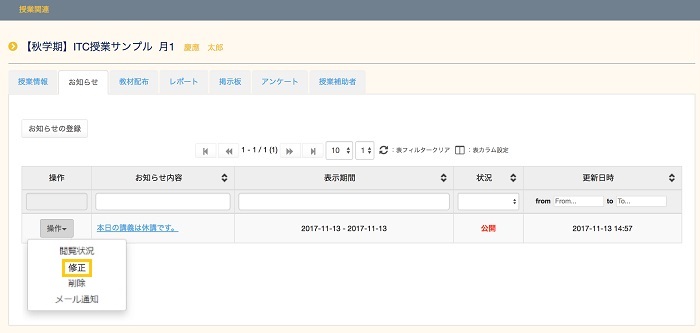
c. Modifying Notices
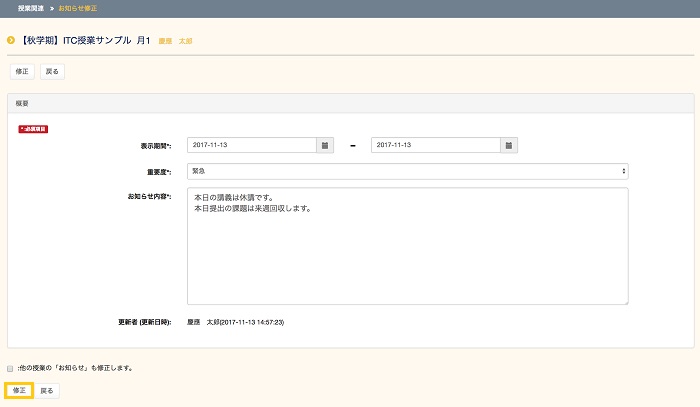
Click [Modify] in the [Operation] column of the notice you want to modify.
When you are finished, click [Modify].
When the window to confirm the changes appears, verify that the information is correct, and then click [Modify]. Email notification is available to send email when you modify notice. See the email notification feature for details.
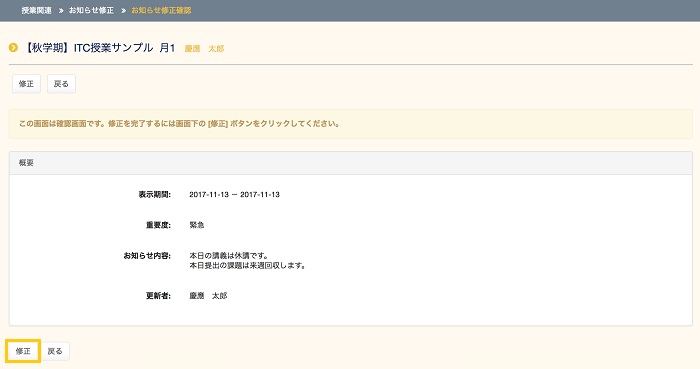
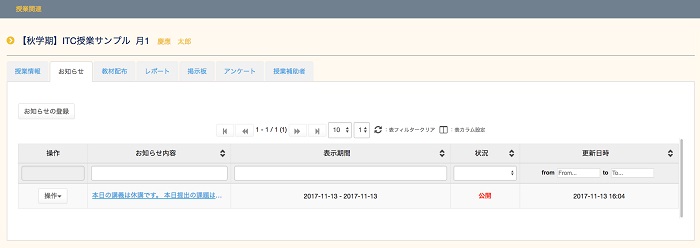
The Class-Related Home page then appears. Finally, confirm that the changes you made are reflected in the Notice feature.
Email notification is available during registration. See the email notification feature for details.
d. Deleting Notices
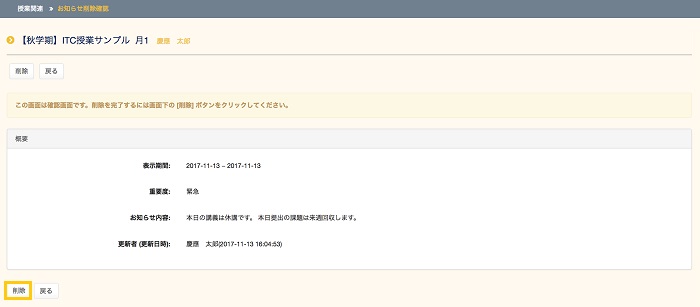
Click [Delete] in the [Operation] column of the notice you want to delete.

Make sure that deleting the notice will not cause any problems, and then click [Delete].
* Once you delete a notice, it cannot be restored. Keep this in mind when you delete notices.
The Class-Related Home page then appears. Finally, confirm that the deleted notice has been removed from the Notice feature.

e. Email Notification
Clink on [Operation] of the title which you select, and click on [Sending Mail] in pull down menu.
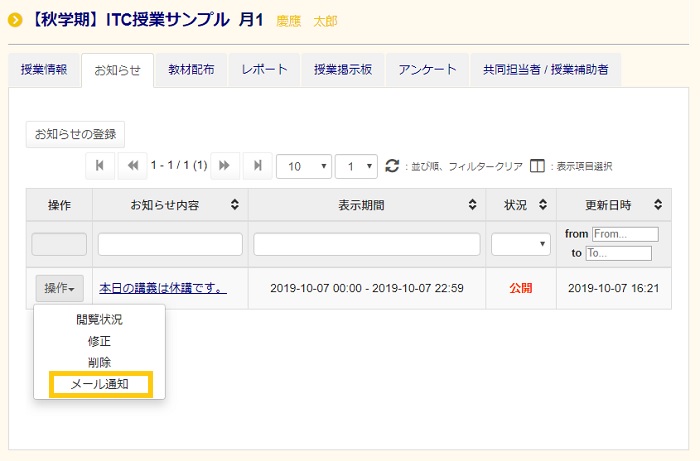
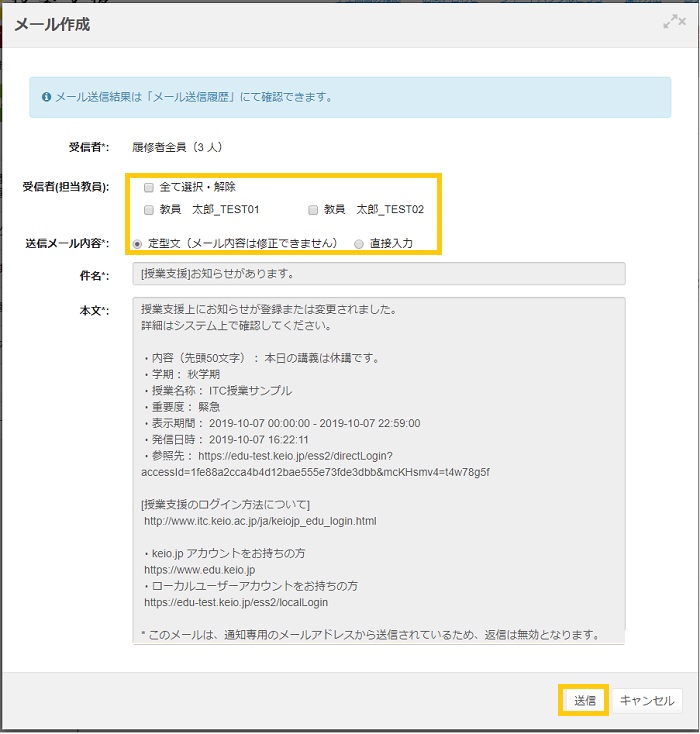
"New" window displays. Check menus and input text in form. click on [Send] button. For more informaiton, see the email notification feature.
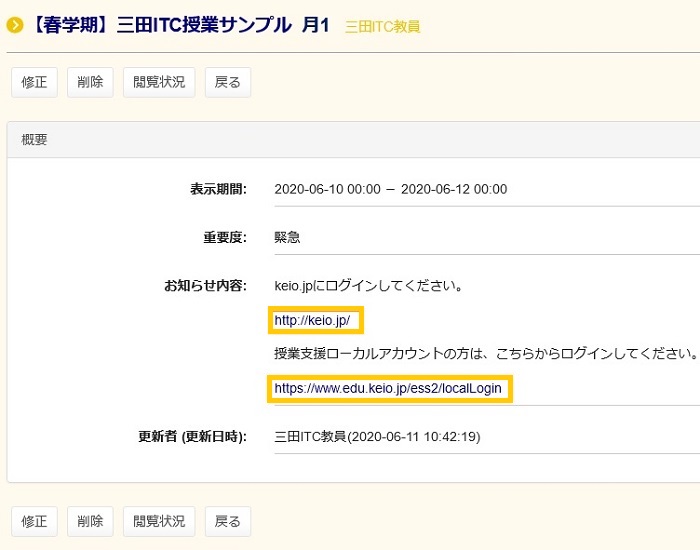
Links in announcements
Any URLs written in announcements automatically converted into links.
Notes on writing URLs in announcements
- Only a single linked URL can be written in one line.
- The system does not support URLs containing Japanese characters.
Last-Modified: December 9, 2020
The content ends at this position.