


- Top >
Example of setting when using Windows 8.1
The following is a brief explanation of network settings to use an information wall socket.
Here, the case of Windows 8.1 is cited as an example.
※Settings for both Windows 8 and Windows 8.1 can be made by the same operation.
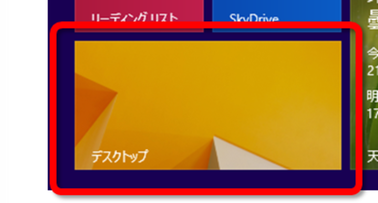
[Start] screen
Select [Desktop].
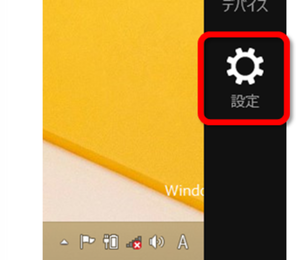
[Desktop] screen
Display [Charm] and select [Setting].
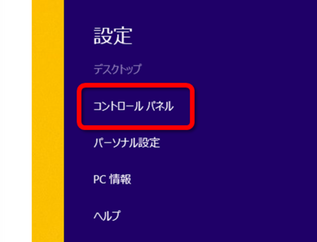
The [Charm] [Setting] screen
Select [Control Panel].
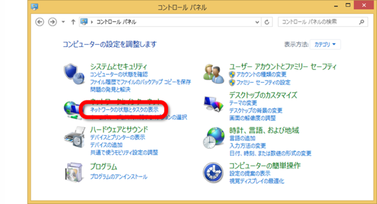
[Control panel] screen
Select [Display state of network and tasks]
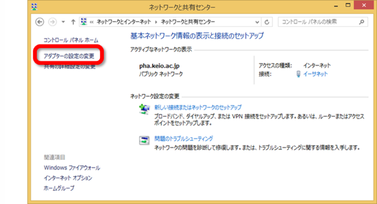
[Network share center] screen
Select [Change setting of adapter].
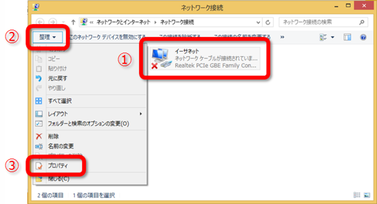
[Network connection] screen
[1]Select [Ethernet], then [2] select [Adjust] and [3] select [Properties].
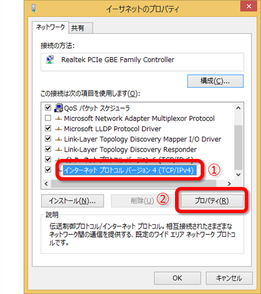
[Properties of Ethernet] screen
[1] Select [Internet protocol version 4 (TCP/IPv4)] then [2] select [Properties].
※ Do not remove the check.If you remove the check, you will not connect to the Internet.
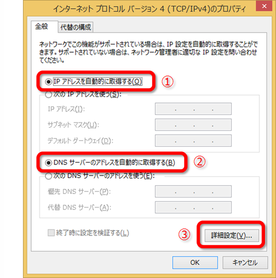
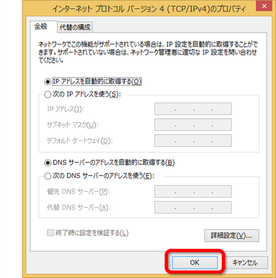
[Internet protocol version 4 (TCP/IPv4) Properties] screen
[1] Select [Automatically obtain an IP address]. [2] Select [Automatically obtain a DNS server address].
After setting [1] and [2], [3] Select [Detailed settings].
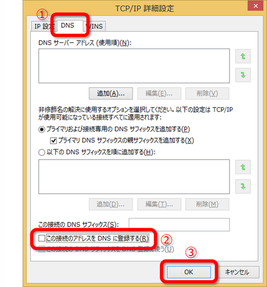
[TCP/IP detailed setting] screen
[1] Select [DNS] tab.
[2] Remove the check from [Record address of this connection to DNS], and select [3] [OK].
[Internet protocol version 4 (TCP/IPv4) Properties] screen
Select [OK].
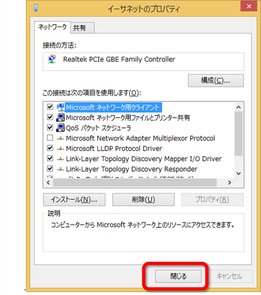
[Properties of Ethernet] screen
Select [Close].
Last-Modified: February 18, 2019
The content ends at this position.