


- Top >
IMAP setup example for Windows 10 Mail App
Introduction
The contents shown in this manual have been confirmed to operate under the following environment.
OS: Windows10 Pro
Software: Mail Ver. 17.6306.2251.0 (standard app)
Procedure 1: Setting under Gmail
-
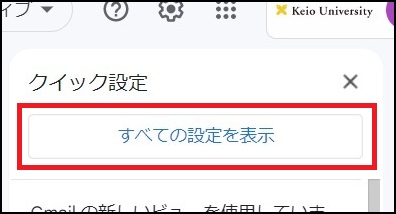
Log into Gmail, and then click the gear icon in the top right corner.

-
Click "Settings".
-
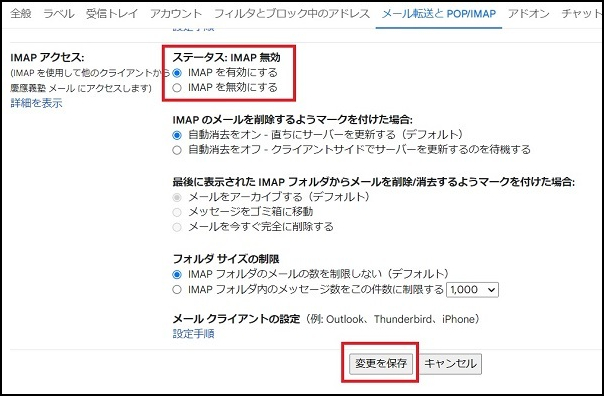
Click "Forwarding and POP/IMAP".

-
Turn on "Enable IMAP" in "IMAP Access", then click "Save Changes".
Procedure 2: Setting up in the Windows 10 Mail App
-
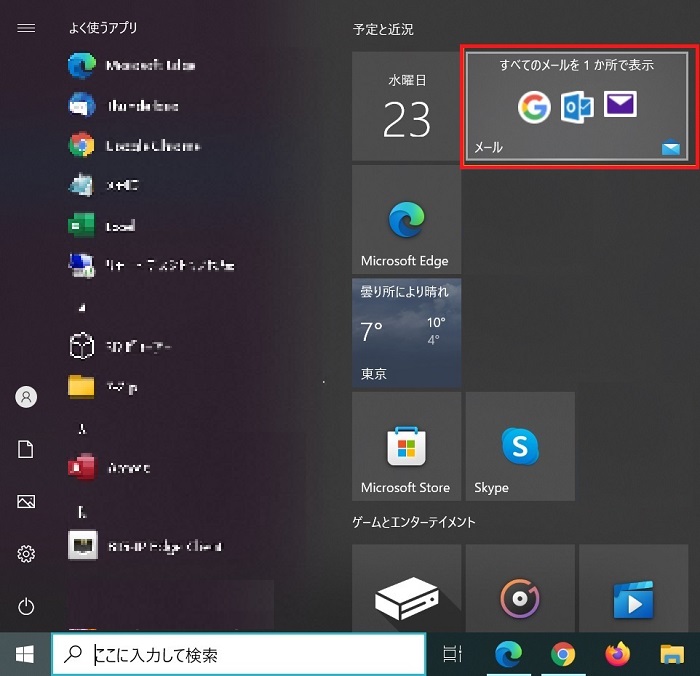
Click on the [Email] tile on the Start screen or Start menu.
Press the [Windows] key to display the Start screen.
-
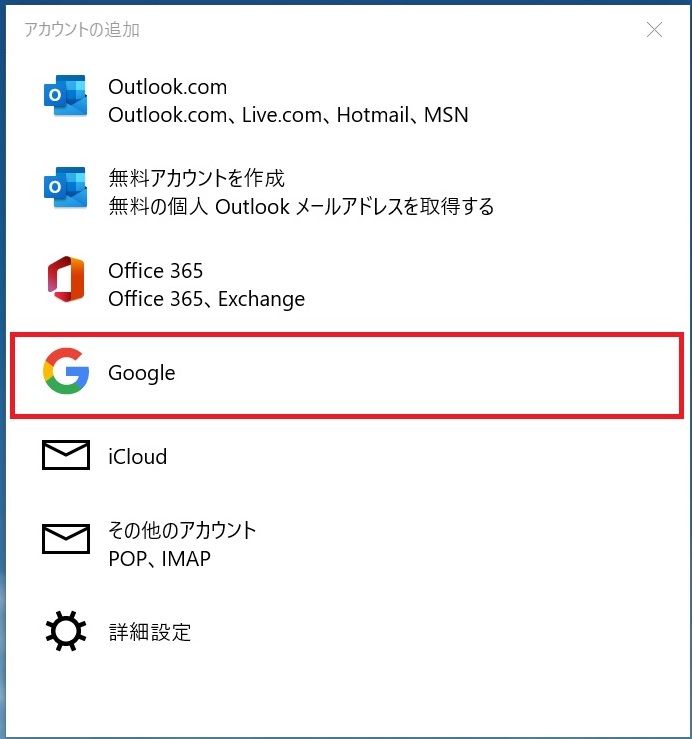
Click on [Google].
-
Enter your e-mail address when [Log into Google] is displayed.
ex: keio-taro@keio.jp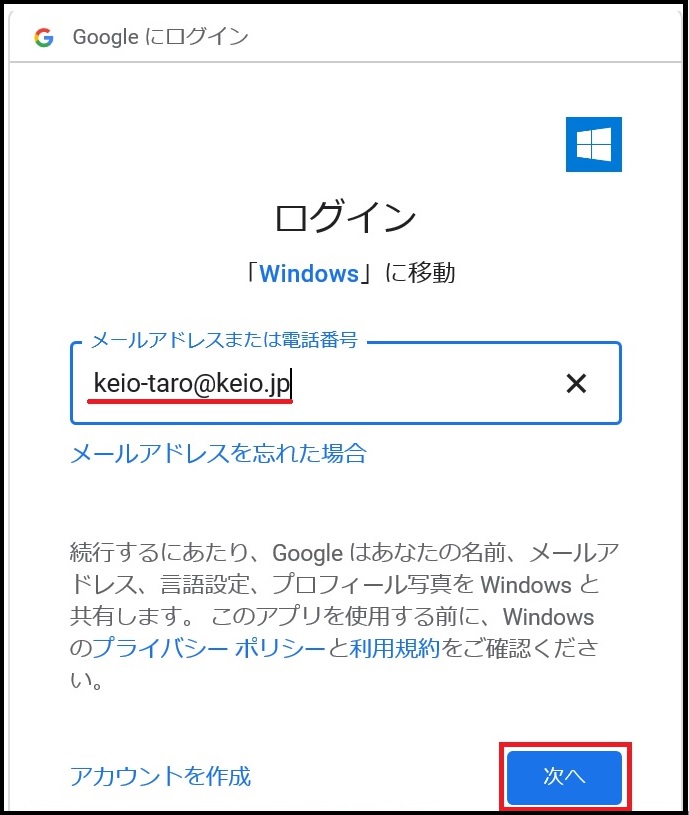
-
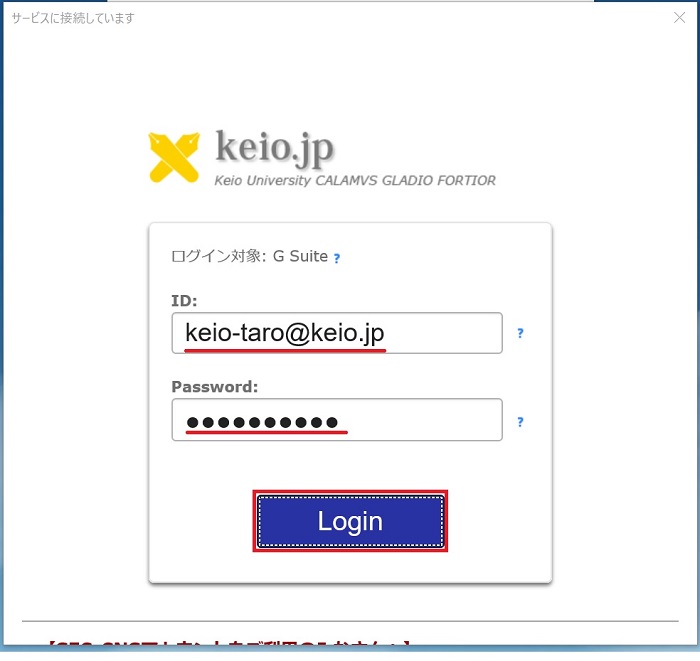
Enter your Keio ID and password and click on the [Log-in] button.
-
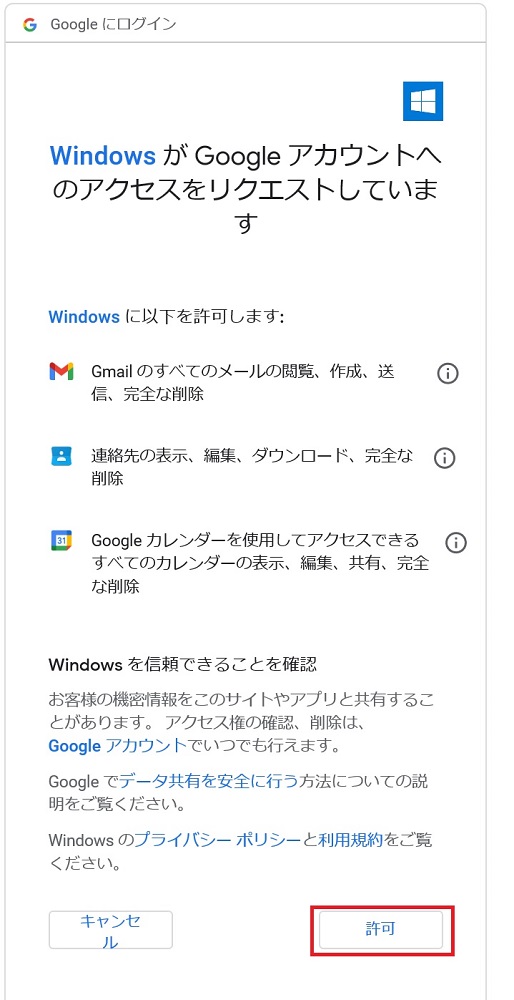
When authorized, click on the [Allow] button when [Windows is requesting the next approval] is displayed.
-
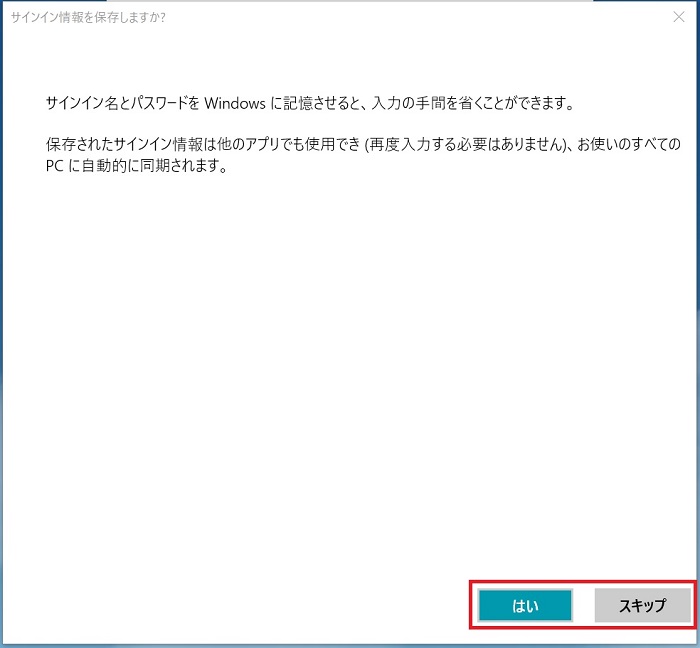
Although not recommended from a security point of view, click on the [Yes] button if you wish to save sign-in information when the [Save sign-in information?] is displayed. Click on the [Skip] button if you wish to proceed onto the next step without saving information.
-
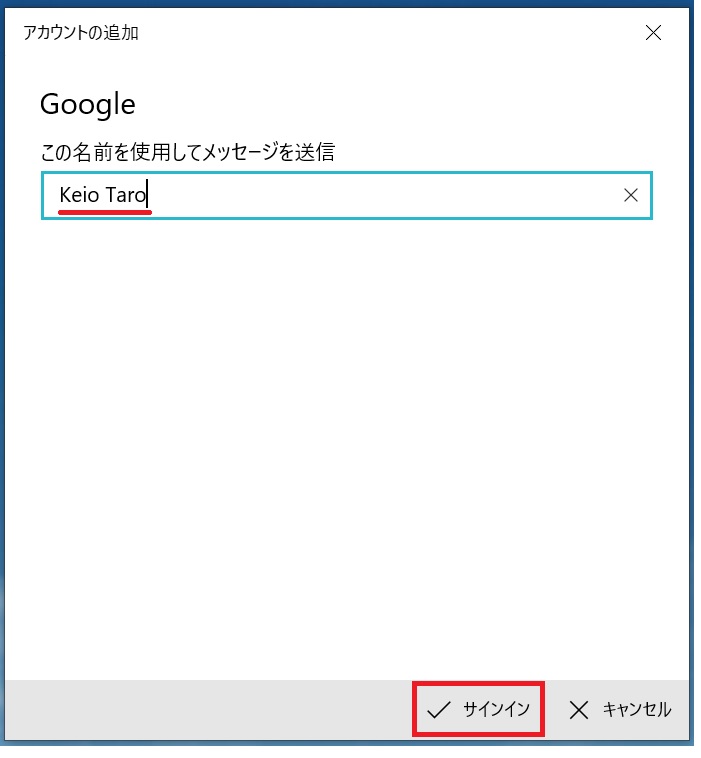
Set your name, and then click on the [Sign-in] button.
-
Click on the [Complete] button when a message indicating that the procedure has been completed is displayed.
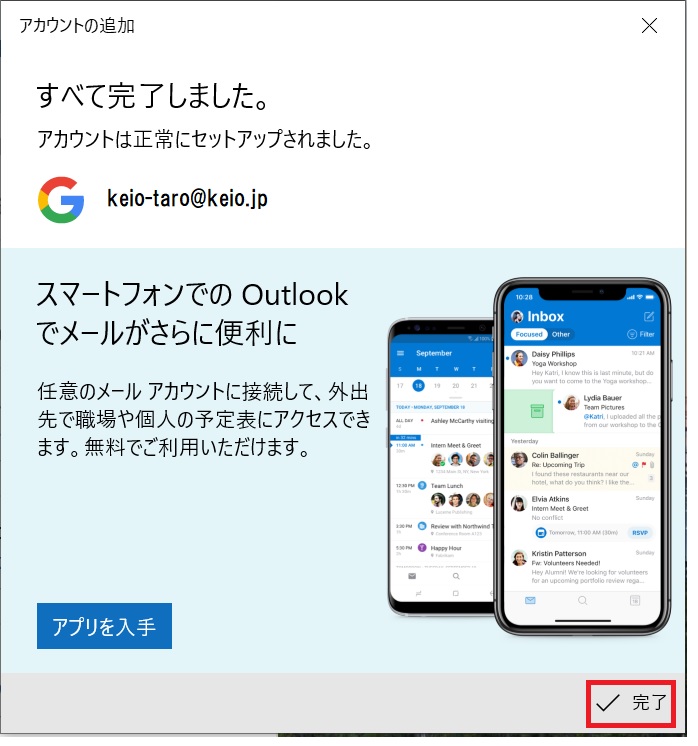
This completes the setup.
Perform an email send/receive test.
Last-Modified: April 13, 2022
The content ends at this position.